
Getting Your UV Curing Right: It’s More Than Just a New Bulb
If you’re in industrial printing, you know that UV curing is what keeps the whole operation moving. It’s the magic moment where liquid ink turns into a solid film in a blink. But here is the thing: when it comes time to replace a UV lamp, you aren’t just swapping out a part. You’re basically tuning your entire production line.
The science (without the headache)
We build our lamps to hit specific wavelengths because every ink chemistry is different. Most of the setups we see use mercury-vapor tech to get that UV-C and UV-B spectrum just right. Then there’s the wattage. This is where people usually trip up. If you go too low, your ink stays “tacky.” You know that feeling—where the print just doesn’t set and everything feels sticky? That’s under-cured ink. But if you push the wattage too high, you might actually scorch the print or warp your substrate. It’s a balancing act.
Making sure it actually fits
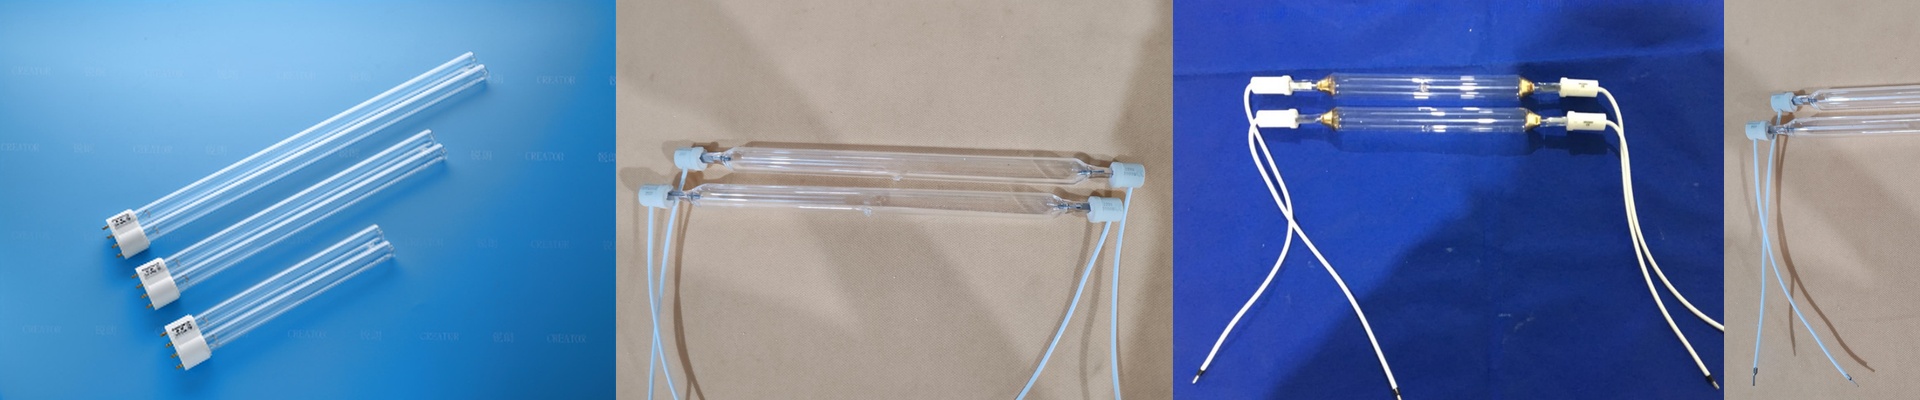
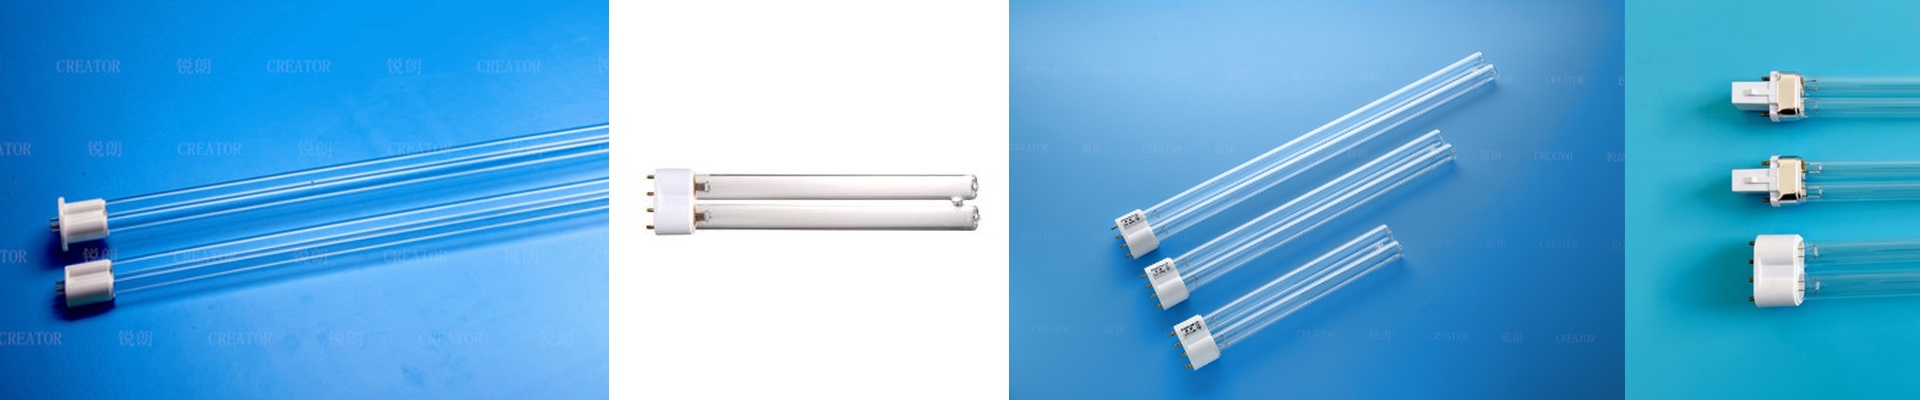
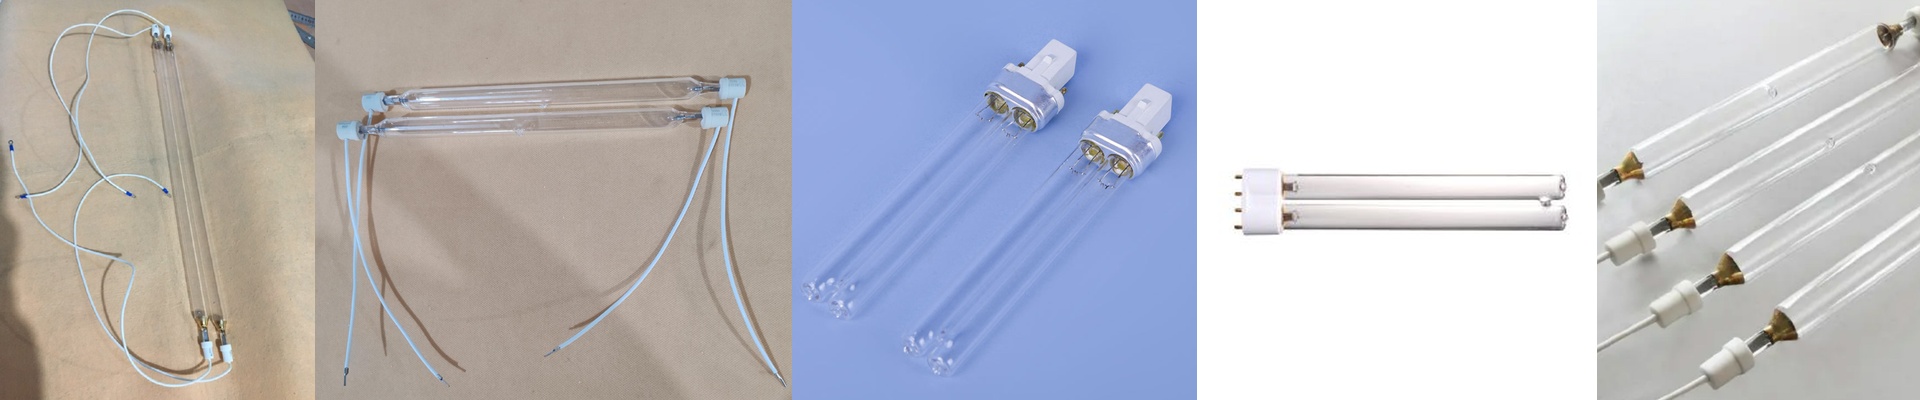
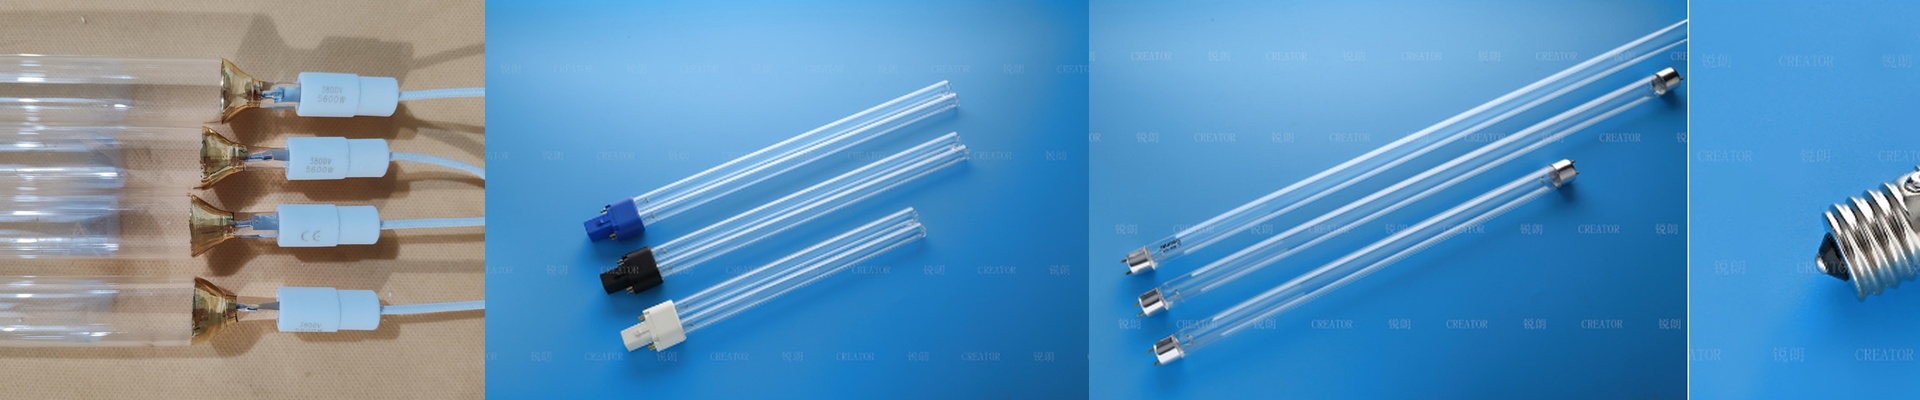
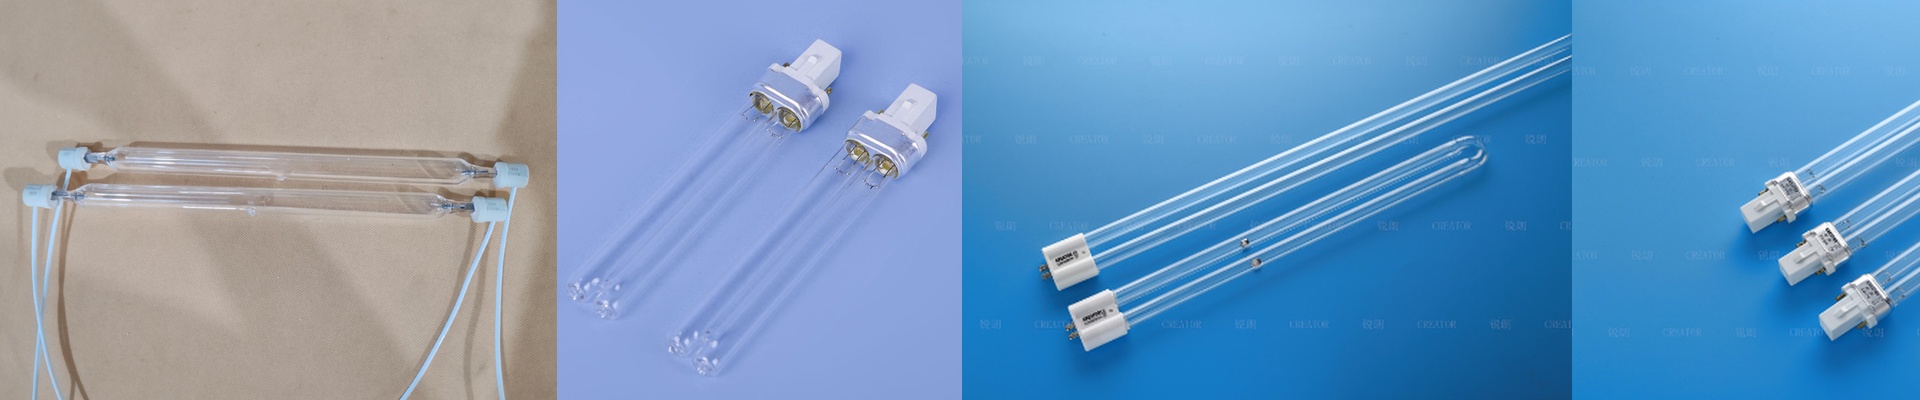
A replacement lamp needs to play nice with your existing gear. It has to match the physical size and the electrical load perfectly. We spend a lot of time focusing on things like electrode alignment and the integrity of the quartz sleeve. Why? Because if the lamp isn’t sitting exactly right in the reflector, you’re throwing away a huge chunk of your light energy. Instead of hitting the ink, that energy just heats up your machine. It’s a waste of power and a pain for your hardware.
The reality of wear and tear
UV lamps don’t last forever. They fade. As the electrodes wear down, your output drops. My best advice? Keep a close eye on your hours. There is nothing worse than a lamp dying in the middle of a massive production run. Also, remember that these high-intensity lamps gethot. Really hot. Your cooling system—whether you’re using air or water—has to be able to keep up. If your chillers are too small for the job, your lamps are going to burn out way faster than they should. We build these things to survive the grind of a high-volume shop. Just double-check your voltage and length against your ballast specs, and you’ll be good to go.